Fatal Claw Boss Guide: All Verified Encounters
Identify every verified Fatal Claw boss encounter, see its role and image, and use confirmed tactics for Mirkam, Irbes, Resio, Fatum, and Saitin.
Direct answer
Fatal Claw 1.0 has 16 verified boss encounters covering 17 named opponents, including the Resio and Fatum duo. Use the roster to identify each fight, then follow the detailed sections for encounters whose attack responses are directly verified.
Quick answer
- Mirkam grants the forward midair dash after Kisha absorbs his power.
- Irbes adds two invulnerable clones during phase two, so track the real boss.
- Resio and Fatum use a dark arena whose center heart briefly restores light.
- Later ending encounters include Sorron, Kurtz, Odz, Murant, and Saemo.
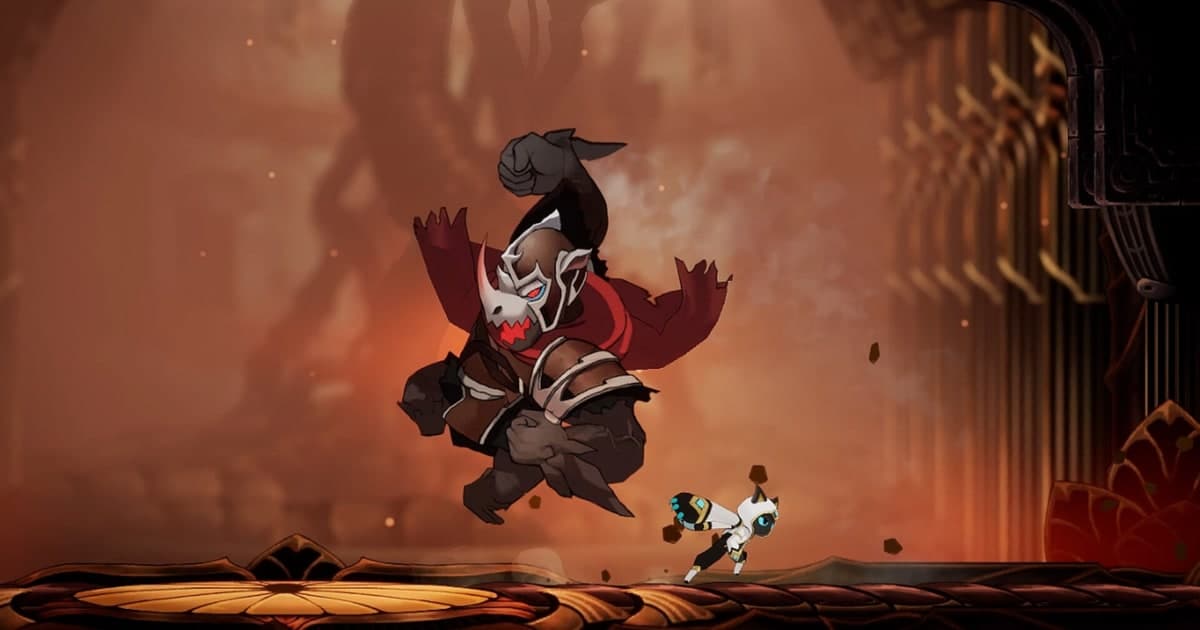
All verified bosses at a glance
The current version 1.0 evidence supports 16 encounter entries and 17 named opponents because Resio and Fatum share one fight. The roster mixes progression bosses, machine encounters, duels, and ending-sensitive opponents. Use the image, region, and result together to identify the encounter before applying any tactic.
| Route stage | Verified encounters | Main completion signal |
|---|---|---|
| Early route | Saitin, Damaged Eradicator | Named encounter ends and its related state or achievement updates |
| Movement progression | Mirkam, Irbes | Kisha can absorb the boss power and test the matching traversal ability |
| Midgame machines and guardians | Eradicator, Giant Guardian, Ortrinde | The route, device objective, or named defeat completes |
| Black Canyon and later regions | Resio and Fatum, Sommar, Cain, Infected Carbo | The named fight or duel records its result |
| Ending and epilogue | Sorron, Kurtz, Odz, Murant, Saemo | The ending-sensitive objective or postgame state advances |
For route order and blocked paths, use the first-ending progression route. Boss-granted traversal rewards are explained separately in the ability unlock guide.
Boss roster, background, and images
Gameplay frames below come from current-version boss footage. When a clear battle frame is unavailable, the profile uses the named Steam achievement artwork and labels it as achievement art. That distinction keeps the visual useful without implying that an icon is an arena screenshot.
16 entries
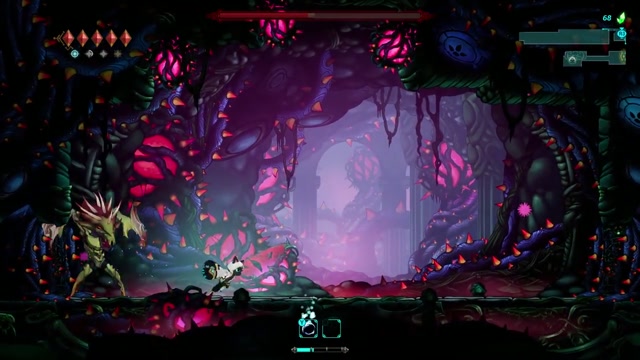
Saitin
Early RouteSaitin is the corrupted plant-like opponent at the end of Moss Cave after the Ain conversation. Regeneration and a close-range spike response make this the first clear lesson in short, controlled punish windows.
- Area
- Moss Cave
- Task
- End the regeneration loop
- Verified result
- Weed Control and Saitin's Countermeasure
- Use short two-hit punishes or ranged mana attacks instead of long close-range strings.
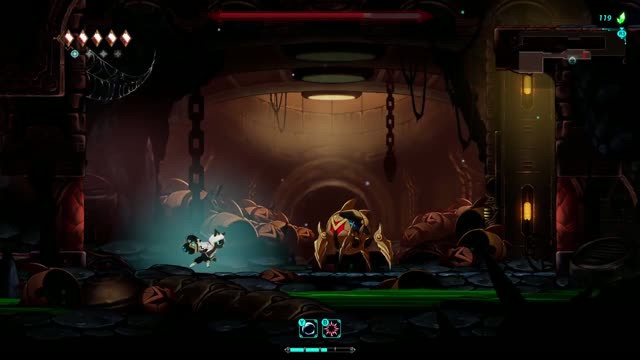
Damaged Eradicator
Early RouteThe Damaged Eradicator is an earlier, impaired form of the Eradicator machine family. Its separate appearance establishes the machine threat before the later elevator encounter.
- Type
- Machine encounter
- Identity check
- Damaged form, separate from the Elord elevator Eradicator
- Coverage
- Encounter identity verified; detailed move timings remain unlisted
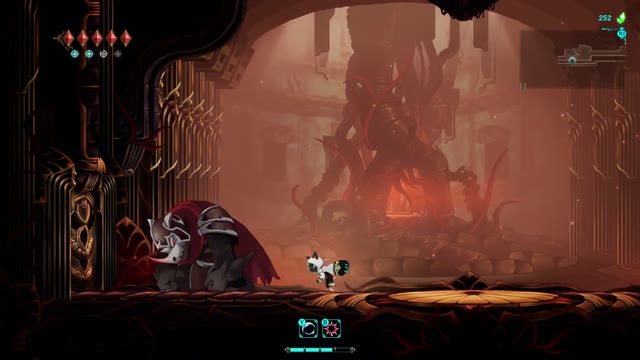
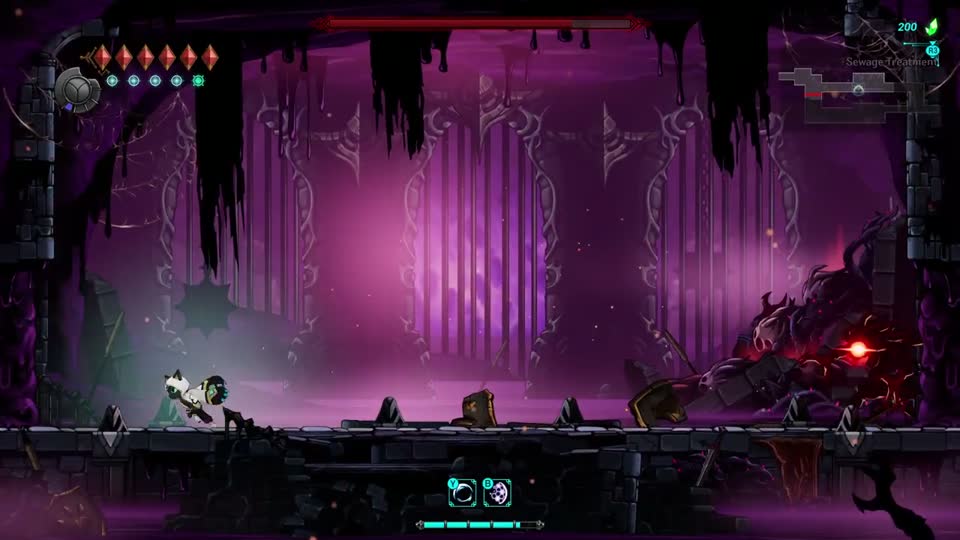
Mirkam
Movement ProgressionMirkam waits near the end of Kannir Drilling Site after the Albus conversation. The three-phase fight turns different attack tells into different movement responses, then rewards Kisha with a core traversal power.
- Area
- Kannir Drilling Site
- Safe window
- Recovery after a wall crash
- Verified result
- Mirkam's Sinew and forward midair dash
- Finish the post-fight absorption interaction before testing the new movement power.
Irbes
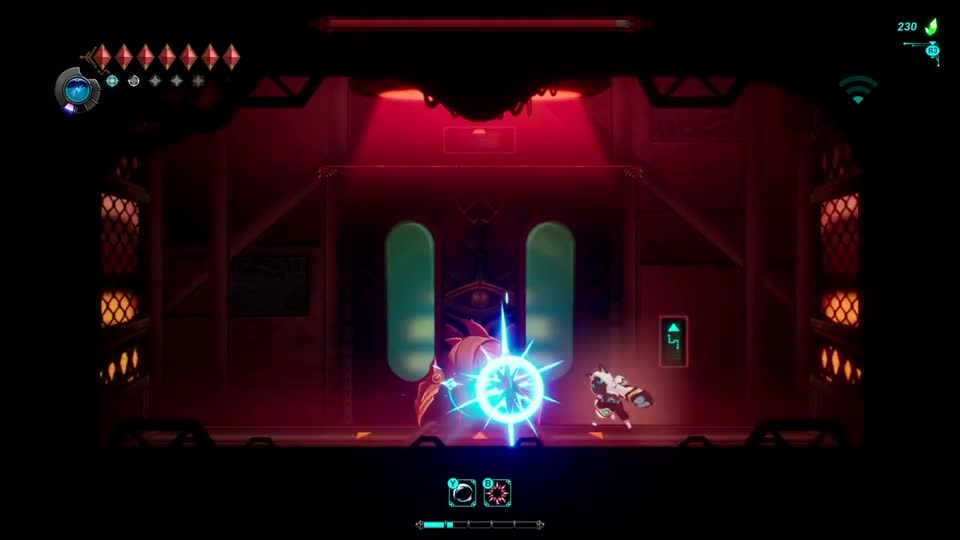
Movement ProgressionIrbes is Ashen Valley's main boss and the source of Kisha's wall movement. Phase two adds two invulnerable clones, changing the task from simple damage to target recognition.
- Area
- Ashen Valley
- Phase check
- Only hits on Irbes reduce boss health
- Verified result
- Irbes' Claws for wall movement
- Use the sword and flag on the arena's right side as a repeatable positioning reference.
Eradicator
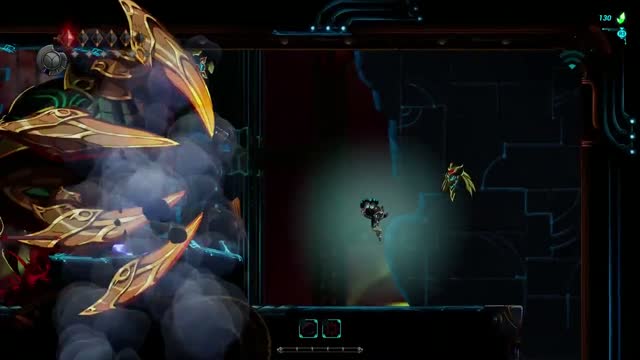
Machine And GuardianThe intact Eradicator appears when the Elord Castle elevator control panel is activated with the green ID card. This fight acts as a route gate rather than an optional detour.
- Area
- Elord Castle elevator
- Prerequisite
- Hidden green ID card
- Verified result
- Route to Kannir Drilling Site opens
Giant Guardian
Machine And GuardianThe Giant Guardian is a large mechanical objective tied to the wave discharger. The task wording emphasizes disabling the machine with the device, so completion depends on the encounter mechanism as well as survival.
- Type
- Guardian machine
- Task object
- Wave discharger
- Related achievement
- Did It Work?
Ortrinde
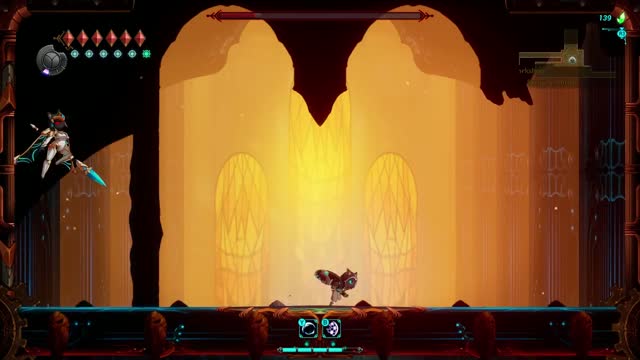
Machine And GuardianOrtrinde is a named midgame boss with a dedicated defeat achievement. The available footage verifies the encounter and its visual identity, while a full move-by-move response set still needs stronger evidence.
- Task
- Defeat Ortrinde
- Related achievement
- Pull Yourself Together
- Coverage
- Identity and completion result verified
Resio and Fatum
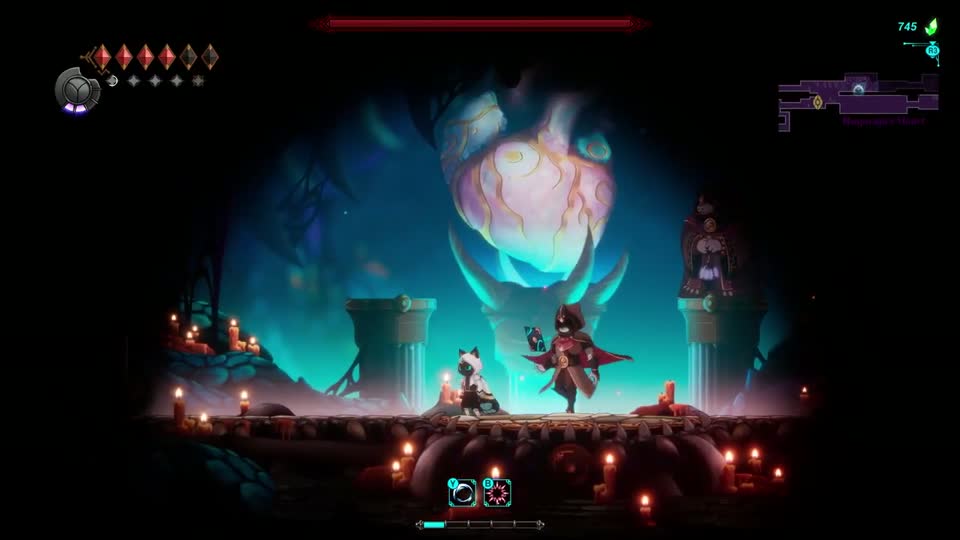
Black Canyon And LaterResio and Fatum form a paired encounter in Black Canyon. Darkness is part of the arena state, and the heart at the center briefly restores enough light to read the next pattern.
- Area
- Black Canyon
- Main read
- Count Resio's three teleports before the attack
- Arena tool
- Center heart briefly restores light
- Phase two adds bouncing projectiles; a wall jump followed by a center dash creates space.
Use the 51-achievement index to verify the exact named completion event for Sommar, Cain, Sorron, and other late encounters. For Odz, Murant, Saemo, and other outcome-sensitive fights, check the ending and epilogue guide before repeating a finale.
Choose the correct combat response
Mirkam reaches the wall
A wall crash is the demonstrated recovery window.
Best for: Taking the punish
Irbes splits into three targets
The two clones are invulnerable and do not lower boss health.
Best for: Tracking the real Irbes
Black Canyon goes dark
The heart briefly restores arena light so the next attack can be read.
Best for: Resetting at the center heart
Saitin heals back damage
Two-hit punishes or ranged mana attacks avoid feeding the spike response.
Best for: Shortening the attack string
Mirkam: earn midair dash
Mirkam is a three-phase fight in Kannir Drilling Site. Each tell needs its own movement answer, so a single repeated dodge will eventually fail.
- Jump in place when Mirkam charges and let him pass underneath.
- Step back when his eyes turn red before the horn swing.
- Stay grounded when he tears up and throws part of the floor.
- Punish the recovery after he crashes into a wall, then reset your spacing.
- Interact with the defeated Mirkam so Kisha absorbs his power.
Progress check: victory is fully confirmed when Mirkam's Sinew appears and Kisha can perform the forward midair dash.
Irbes: track the real target
Irbes fights alone in phase one. Phase two introduces two invulnerable clones, turning the encounter into a target-control check.
- Use the sword and flag on the right side as a repeatable arena reference.
- Read the charge and ceiling-drop patterns from that landmark instead of chasing.
- When the clones arrive, direct attacks at Irbes and watch the boss-health response.
- Stop spending attacks on any target that does not lower the boss health.
- Absorb Irbes after the defeat before testing wall movement.
Progress check: the correct phase-two target is the one whose damage moves the boss-health bar.
Resio and Fatum: control the dark arena
Resio teleports three times before each attack. Count the relocations and use the center heart only when darkness prevents a clean read.
- Count three Resio teleports, then prepare for the attack that follows.
- Touch the center heart when the arena is too dark to read; the restored light is brief.
- Move onto a wall when bouncing projectiles take over the floor in phase two.
- Wall jump, then dash toward the center after the projectile path opens.
Resio and Fatum phase demonstration
See the three-teleport tell, center-heart light reset, and wall-jump response used during phase two.
Saitin: break the regeneration loop
Saitin punishes long close-range strings with spikes, while slow pressure allows health regeneration.
- Reach the end of Moss Cave after the Ain conversation.
- Enter for a short opening and stop after a steady two-hit punish.
- Back out before another close-range string triggers the spike response.
- Use ranged mana attacks when closing distance would force an unsafe string.
- Maintain controlled pressure until the health trend stays downward.
Progress check: victory awards Weed Control before Kisha absorbs Saitin's Countermeasure.
Diagnose a failed boss attempt
| Symptom | Likely cause | Next check |
|---|---|---|
| Mirkam clips the jump | The current tell needs a retreat or grounded response | Check for red eyes before the horn swing or a thrown floor piece |
| Irbes' health stops moving | Attacks are landing on an invulnerable clone | Return to the right-side landmark and test one hit on the real target |
| Resio feels unreadable | Darkness or early movement hides the three-teleport rhythm | Restore light and count all three teleports |
| Bouncing projectiles catch the inward dash | The dash begins before the path opens | Stay on the wall longer, then jump and dash toward center |
| Saitin recovers too much health | Long strings trigger spikes and interrupt pressure | Use two-hit punishes or ranged mana attacks |
Frequently Asked Questions
Was this helpful?
Continue reading
These related Fatal Claw pages answer the next questions around this topic.