Fatal Claw Builds: Engravings, Cabitz and Upgrade Priorities
Build Kisha for bosses, exploration, healing, mana, or sustained damage with a clear Fatal Claw 1.0 upgrade framework.
Direct answer
Pick one immediate job, equip two Engravings that cover its active needs, then spend memory on Cabitz that keeps the same combat or exploration loop reliable.
Quick answer
- Normal attacks refill the mana used by Engravings.
- Every Cabitz consumes a fixed share of Kisha's memory.
- Memory Cards expand the Cabitz budget.
- Change one layer at a time, then test the full resource loop.

Build from the job you need to solve
Start with the failure you can see. A boss build needs safe damage windows and recovery. An exploration build needs movement tolerance and healing. A sustained-pressure build needs normal attacks that refill mana quickly enough to keep both Engraving slots useful.
- Name one job: boss safety, route recovery, mana uptime, healing, or sustained damage.
- Choose two Engravings that cover the active range and attack pattern required by that job.
- Add Cabitz effects that preserve the same loop without exceeding the current memory limit.
- Test damage, mana recovery, healing access, and movement before spending on another branch.
This order matters because every layer feeds the next. Broad spending can unlock options, yet it does not guarantee that the equipped pieces work together in the current fight.
Know the four build layers
| Layer | What it controls | First check |
|---|---|---|
| Claw upgrades | Kisha's base combo and permanent combat options | Does the next node solve the current range, speed, or survival problem? |
| Engravings | Two equipped mana-powered active attacks | Can each slot create damage or safety at a different range? |
| Cabitz | Passive utility and modifiers | Does every effect support the chosen job? |
| Memory | The total Cabitz capacity | Does the setup fit without dropping a critical effect? |
Build-system profiles and visual references
These systems belong to different layers of Kisha's loadout. Read each identity first, then change the layer tied to the failure you can reproduce.

Claw Upgrades
Permanent LayerClaw upgrades spend Kannium on Kisha's permanent combat tree. They shape the base combo and remain the foundation that restores mana through normal attacks.
- Resource
- Kannium
- Role
- Base combo and permanent options
- First check
- Does the node solve the current failure?
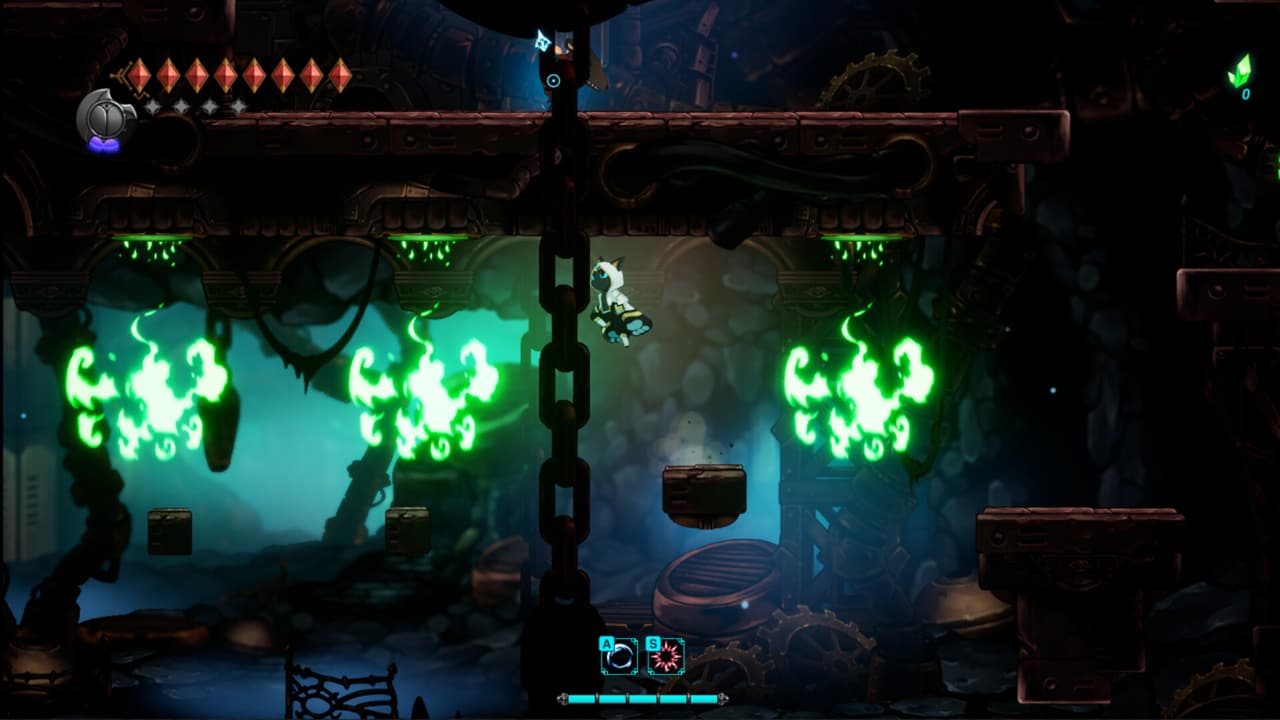
Engravings
Active LayerEngravings are the two equipped active attacks powered by mana. A useful pair covers different ranges or timing windows so both slots have a distinct job.
- Slots
- Two active attacks
- Resource
- Mana
- Recovery
- Normal claw attacks refill mana

Cabitz
Passive LayerCabitz are passive effects that consume a fixed share of Kisha's memory. Their value depends on whether the chosen effect activates during the route or fight the build is meant to solve.
- Role
- Passive utility and modifiers
- Cost
- Memory capacity
- Verified examples
- Wall-cling healing and an extra healing charge

Memory Cards
Capacity LayerMemory Cards expand the capacity available for Cabitz. They solve a loadout that already has the right passive effects but cannot equip them together within the current budget.
- Role
- Increase Cabitz budget
- Use when
- A coherent passive setup does not fit
- Avoid when
- The equipped effects do not solve the current task
Engravings spend mana, and normal attacks refill that resource. This creates a simple loop: use an Engraving to create space or damage, return to claw attacks when the opening is safe, then spend the recovered mana on the next useful active skill.
Cabitz work as the passive half of the setup. Verified effects include healing while clinging to a wall and adding another healing charge. Those effects can turn a difficult route into a stable one even when they do not increase damage directly.
Pair Engravings and Cabitz around one loop
The two Engraving slots should have separate jobs. A close-range option plus a ranged option gives broader coverage. Two similar attacks can still work when a boss presents the same safe window repeatedly, but they leave fewer answers when distance or positioning changes.
Boss safety
Use a ranged Engraving for unsafe phases and Cabitz that improves healing access or reduces recovery pressure.
Best for: Learning attack patterns
Sustained pressure
Favor a repeatable claw loop that restores mana, then spend Engravings only when they extend a safe punish.
Best for: Long health bars
Exploration
Spend memory on movement and healing utility before adding optional damage effects.
Best for: New biomes and ability gates
Resource control
Keep one efficient Engraving available and remove passive effects that do not help the current route.
Best for: Mana or memory shortages
During a boss stagger, use claw hits to deal damage and rebuild health or mana. At unsafe distance, let the ranged Engraving cover the gap. The goal is a loop that stays functional after the first burst.
Match that loop to the specific openings in the boss roster and tactics guide. A ranged slot matters most when the named fight creates unsafe distance, while healing and movement utility matter when the route repeatedly exposes Kisha to traversal damage.
See the Fatal Claw 1.0 build systems together
This current-version overview shows Engravings, Cabitz, memory capacity, movement upgrades, and the combat resource loop in context.
Choose an upgrade priority
Use the symptom from the last failed attempt to select the next investment.
| Failure state | Priority | Why it helps |
|---|---|---|
| Healing runs out before the final phase | Healing utility or another charge | Extends learning time and reduces the cost of small mistakes |
| Mana is empty when a safe ranged window appears | Normal-attack uptime and efficient Engraving use | Restores the resource before the next opening |
| A route demands repeated wall or air movement | Movement and route-safety utility | Keeps traversal attempts consistent |
| Damage stops during boss movement | One ranged Engraving | Converts otherwise idle time into safe pressure |
| The setup feels strong but cannot be equipped | Memory Cards | Raises the Cabitz capacity directly |
Avoid changing several systems after one loss. Replace one effect, repeat the same encounter, and watch whether the target symptom improves. That makes the result useful even when exact damage values are unavailable.
Test the loop before spending again
A working build passes four checks:
- Both Engravings have a clear moment when they are safer or more useful than a normal claw attack.
- Normal attacks restore enough mana to use those Engravings again during the same encounter.
- Cabitz effects activate during situations that actually occur in the route or boss.
- The build still has a recovery plan after taking damage or missing an attack window.
If one slot rarely gets used, it is consuming an opportunity. Change that slot before buying unrelated upgrades. If both active skills work but the passive setup cannot fit, the next objective is a Memory Card rather than another Cabitz.
Fix memory and resource problems
Memory is a hard Cabitz budget. When the total cost exceeds Kisha's capacity, remove the lowest-priority effect or collect more Memory Cards. Do not drop the passive that solves the exact reason the build exists.
For a setup that fits but still fails, check these points in order:
- Confirm that both Engravings are equipped and serve different usable windows.
- Verify that normal claw attacks are happening often enough to refill mana.
- Check whether healing utility can activate in the current arena or route.
- Remove effects that only help a different task.
- Test the same checkpoint again before changing another layer.
This diagnosis separates a capacity problem from an execution problem. More upgrades cannot repair a loop that spends mana without creating a safe way to earn it back.
What this build framework can prove
The current 1.0 evidence confirms how Engravings spend and regain mana, how two active slots work, how Cabitz consume memory, how Memory Cards expand that budget, and how several utility effects support survival. Exact best-in-slot rankings and universal damage formulas are not established well enough to support a single mandatory build.
Use this page as a decision framework. Pick a task, make the resource loop coherent, and revise the one layer tied to the failure you can reproduce.
Movement problems may come from the route state rather than the loadout. Check the ability unlock and route-gate guide before spending resources to solve an obstacle that needs a specific power. The achievement index also lists the visible equip, upgrade, and postgame reset actions that can verify system interactions.
Frequently Asked Questions
Was this helpful?
Continue reading
These related Fatal Claw pages answer the next questions around this topic.