Fatal Claw Progression Guide: First Ending Route
Follow Fatal Claw's verified route gates, unlock key movement powers, recover from blocked paths, and prepare for the first ending.
Direct answer
Use the Elord Castle elevator to reach Kannir Drilling Site, earn Mirkam's air dash there, and defeat Irbes in Ashen Valley for wall traversal. Recheck blocked map edges after every new power.
Quick answer
- Find Elord Castle's green ID card before using the large elevator.
- Defeat the Eradicator to open the route into Kannir Drilling Site.
- Mirkam grants the forward air dash, while Irbes grants wall traversal.
- Finish important survivor requests before the first credits when possible.

First-Run Route at a Glance
Fatal Claw progression follows an ability-gate loop. Explore the connected regions until a movement barrier closes the current path, earn the matching Mutated Ability elsewhere, then rescan the edge you left behind. The clearest confirmed route transition begins at Elord Castle's large elevator and continues into Kannir Drilling Site after the Eradicator fight.
| Current stage | Next action | Visible progress check |
|---|---|---|
| Connected opening regions | Explore reachable map edges and remember barriers that stop movement. | You can name the blocked edge and the type of movement it appears to require. |
| Elord Castle elevator | Find the green ID card in the nearby wall crate, then operate the elevator. | The elevator starts the Eradicator encounter. |
| After the Eradicator | Defeat the boss and check the newly opened connection. | Kannir Drilling Site becomes reachable. |
| Kannir Drilling Site | Continue beyond the Albus conversation and defeat Mirkam near the area's end. | Mirkam's Sinew gives Kisha a forward midair dash. |
| Ashen Valley | Defeat the region's main boss, Irbes. | Irbes' Claws let Kisha cling to, slide down, and jump from walls. |
| Before the first credits | Resolve the survivor requests and choices that matter to your run. | Your chosen optional tasks are complete; unfinished work can still continue in the epilogue. |
The route crosses several systems at once. Keep the ability unlock profiles open for obstacle matching, and use the interactive map guide when a newly gained power needs a return route.
Key progression entities and gates
These four profiles explain why each named boss, machine, or survivor state matters to the route. They provide the context behind the steps that follow.
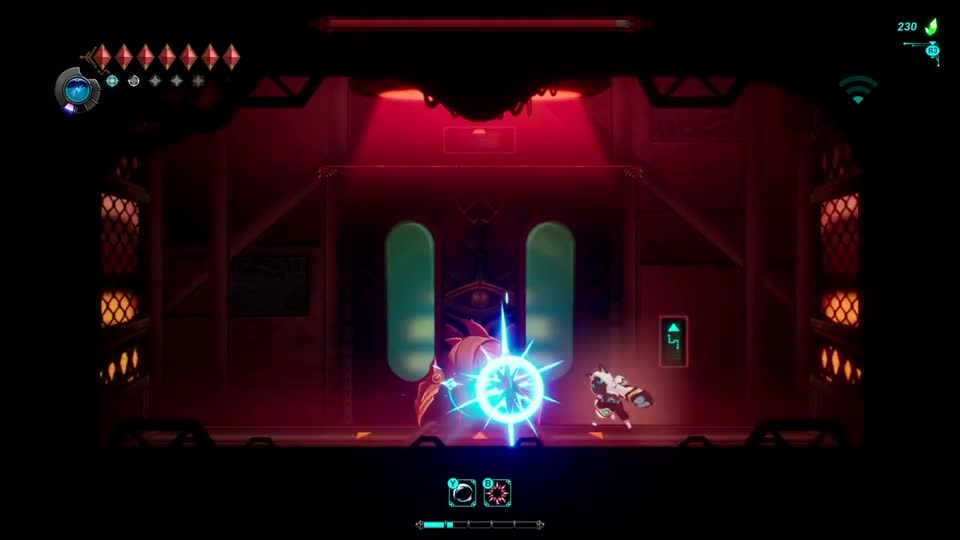
Elord Elevator Eradicator
Route GateThe intact Eradicator is the combat half of the Elord Castle elevator objective. The green ID card activates the panel, and the boss defeat opens the connection toward Kannir Drilling Site.
- Required object
- Green ID card
- Task
- Defeat the Eradicator
- Route result
- Kannir Drilling Site opens
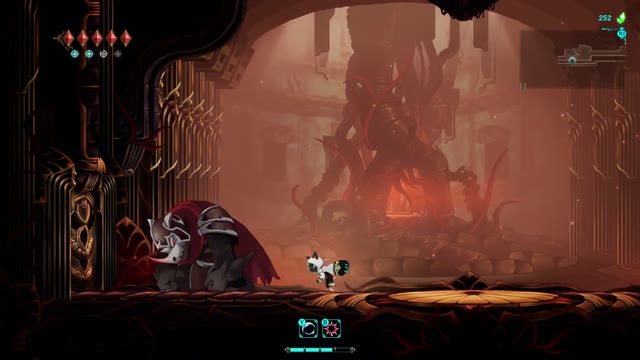
Mirkam
Ability GateMirkam waits near the end of Kannir Drilling Site after the Albus conversation. Absorbing his power adds the horizontal midair movement needed for broken gaps and later backtracking.
- Area
- Kannir Drilling Site
- Power
- Mirkam's Sinew
- Route result
- Forward midair dash
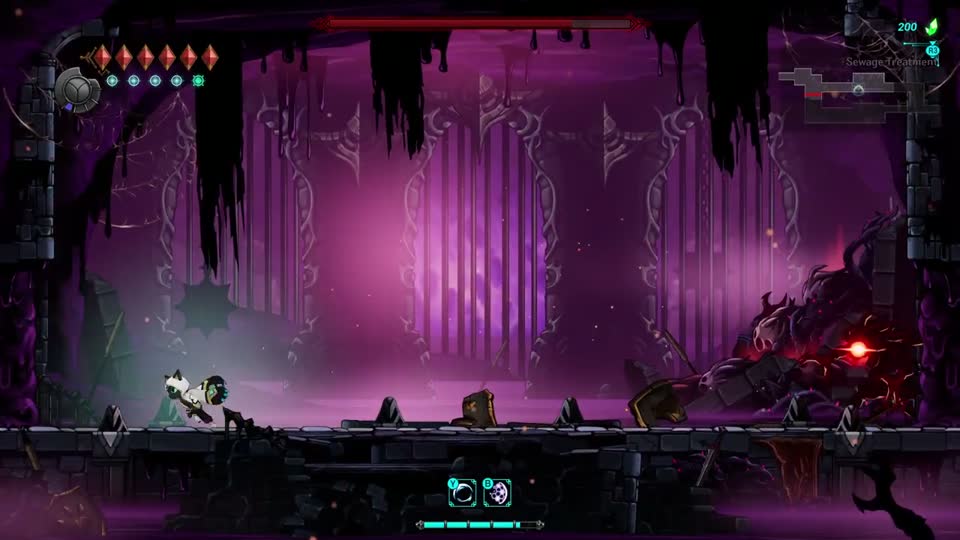
Irbes
Ability GateIrbes is the main Ashen Valley boss. His absorbed power converts walls from boundaries into climbable routes through clinging, controlled sliding, and wall jumping.
- Area
- Ashen Valley
- Power
- Irbes' Claws
- Route result
- Wall cling, slide, and jump
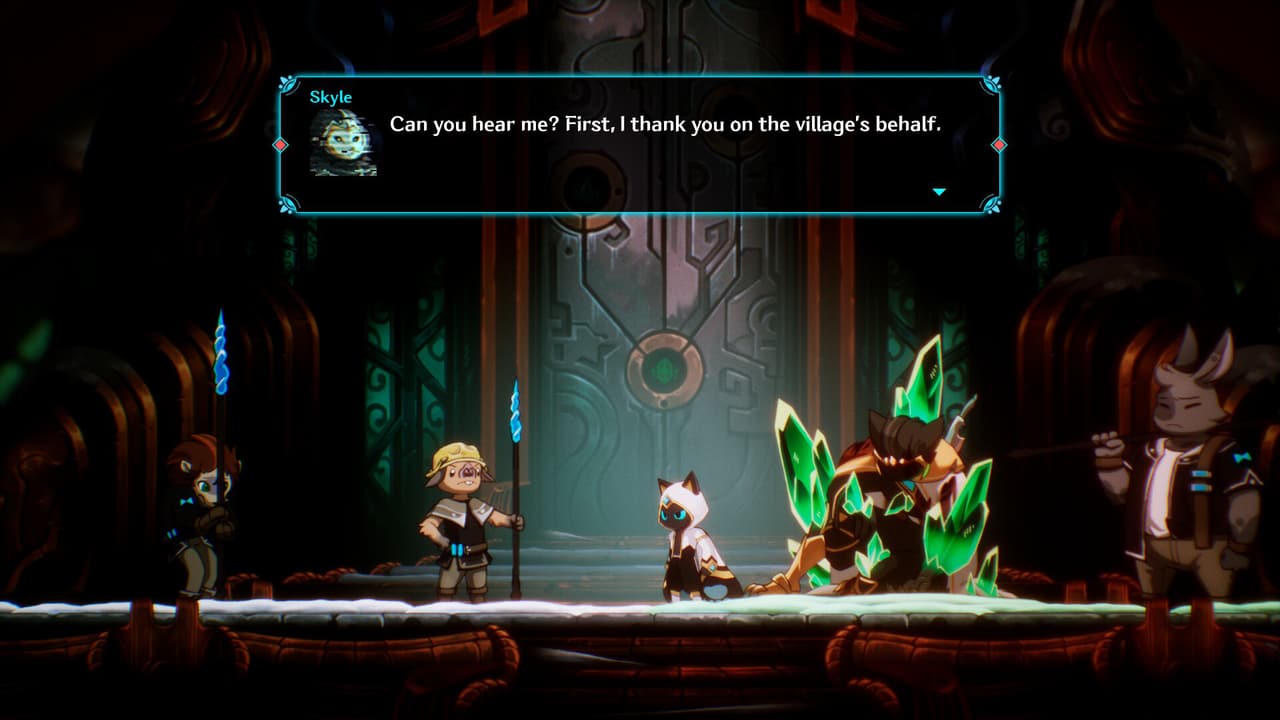
Survivor Quest State
Ending PreparationSurvivor requests are optional world-state tasks that can matter to the assembled ending. Checking them before the first credits reduces uncertainty, while the epilogue remains available for unfinished work.
- Tracker
- Quest log
- Best checkpoint
- Before first credits
- Recovery state
- Playable epilogue
Follow the Verified Route Gates
- Explore each reachable region until the next path is clearly blocked by movement or a one-way wall.
- At Elord Castle's large elevator approach, move right, down, and left to search the wall crate for the green ID card.
- Return to the elevator, operate it, and defeat the Eradicator to open the connection into Kannir Drilling Site.
- Continue through Kannir until the Albus conversation, then defeat Mirkam near the area's end to obtain the forward midair dash.
- When Ashen Valley is your active route, defeat Irbes to gain wall clinging, sliding, and jumping.
- After every new movement power, reopen the map and revisit the barriers that match it.
- Before committing to the first ending, finish important survivor requests and deliberate choice-sensitive tasks.
This sequence has an observable end state: the Elord elevator has opened Kannir, both confirmed boss-granted movement powers appear in Kisha's move set, and your selected survivor work is settled before the credits.
Watch the World Route Before You Backtrack
Treat every newly opened movement power as a reason to rescan the map edges you left behind. The map overview below is useful when you need to compare the world's overall shape with a barrier, boss marker, save point, or travel node you remember seeing earlier.
Fatal Claw 100 Percent Map Overview
Use this compact map tour to orient yourself across the world and identify which blocked edge deserves the next backtrack.
The video is an orientation aid. Your current ability set and the visible state of each gate remain the reliable checks for the route available in your save.
Progress Checks After Each Major Gate
| Gate | Expected state | Confirmation |
|---|---|---|
| Elord elevator access | The green ID card has been collected. | Operating the elevator begins the Eradicator fight. |
| Elord region exit | The Eradicator has been defeated. | The connection to Kannir Drilling Site is open. |
| Kannir traversal reward | Mirkam has been defeated after the Albus conversation. | Kisha can perform the forward midair dash from Mirkam's Sinew. |
| Ashen Valley traversal reward | Irbes has been defeated. | Kisha can cling to, slide down, and jump from walls with Irbes' Claws. |
| First ending | The first credits have finished. | The save continues into the epilogue for unfinished route and ending work. |
Check the result immediately after each objective. A boss victory without the expected route or movement change tells you exactly which step to inspect before you cross the world again.
If the Map Shows No Unexplored Path
| Symptom | Expected state | Likely cause | Next check |
|---|---|---|---|
| Every visible edge appears closed. | At least one earlier barrier should match a movement power you now have. | The newest ability has not been tested at old map edges, or the visible wall opens from the far side. | Compare each remembered barrier with the newest dash or wall movement, then test the smallest nearby backtrack first. |
| The large Elord Castle elevator will not advance the route. | The elevator should start the Eradicator encounter. | The green ID card is still in its wall crate. | From the elevator approach, search right, down, and left for the breakable wall crate, then return to the controls. |
| Kannir Drilling Site remains inaccessible. | The route should open after the elevator boss. | The Eradicator encounter is unfinished. | Confirm that operating the elevator started the fight and that the boss was defeated. |
| A horizontal air gap stops progress. | Kisha should have a forward midair dash after Mirkam. | Mirkam's Sinew has not been obtained. | Return to Kannir, continue past the Albus conversation, and finish the Mirkam encounter near the area's end. |
| A vertical wall route stops progress. | Kisha should be able to cling, slide, and jump from walls after Irbes. | Irbes' Claws are still missing. | Check Ashen Valley's main boss objective before retrying the wall route. |
| The first credits made the run look finished. | The save should continue into an epilogue. | The post-credit continuation has not been checked. | Continue after the credits and inspect the remaining route and ending tasks from the epilogue state. |
Keep each recovery attempt small and reversible. Confirm one gate, one ability, or one boss state at a time before starting a long backtrack.
What to Finish Before the First Ending
Survivor quests and player choices can affect the conclusion. Resolve the requests that matter to your preferred outcome before committing to the first ending whenever practical. This gives the first credits the strongest chance to reflect the work already completed in that save.
The first credits do not permanently close the route. The epilogue continues afterward, so unfinished exploration and ending work remain available. Use that continuation as recovery space, while treating the pre-credit sweep as the cleaner point for settling important survivor tasks.
The verified quest routes show how a request, item handoff, service reward, and route unlock expose their completion states. Use that same state-checking method for other active survivor work.
Version 1.0 Route Boundaries
This guide covers confirmed Fatal Claw 1.0 progression gates: the nonlinear ability loop, the Elord Castle elevator and Eradicator connection to Kannir, Mirkam's forward air dash, Irbes' wall movement, and the post-credit epilogue. The connected world allows local exploration order to vary around those gates.
When your route differs from another player's path, trust the state visible in your save. Identify the blocked edge, check the newest movement power, confirm the relevant boss or objective, and only then choose the next region to revisit.
For attack tells inside the named fights, continue with the complete boss roster and tactics. The progression page should decide where to go; the boss page should decide how to respond once the arena starts.
Frequently Asked Questions
Was this helpful?
Continue reading
These related Fatal Claw pages answer the next questions around this topic.